Acrylic Nail Extension At Home

Pin By Jordan Esfeld On Nail Art In 2021 Gel Nails Diy Hard Gel Nails Diy Acrylic Nails

Pin On Nails
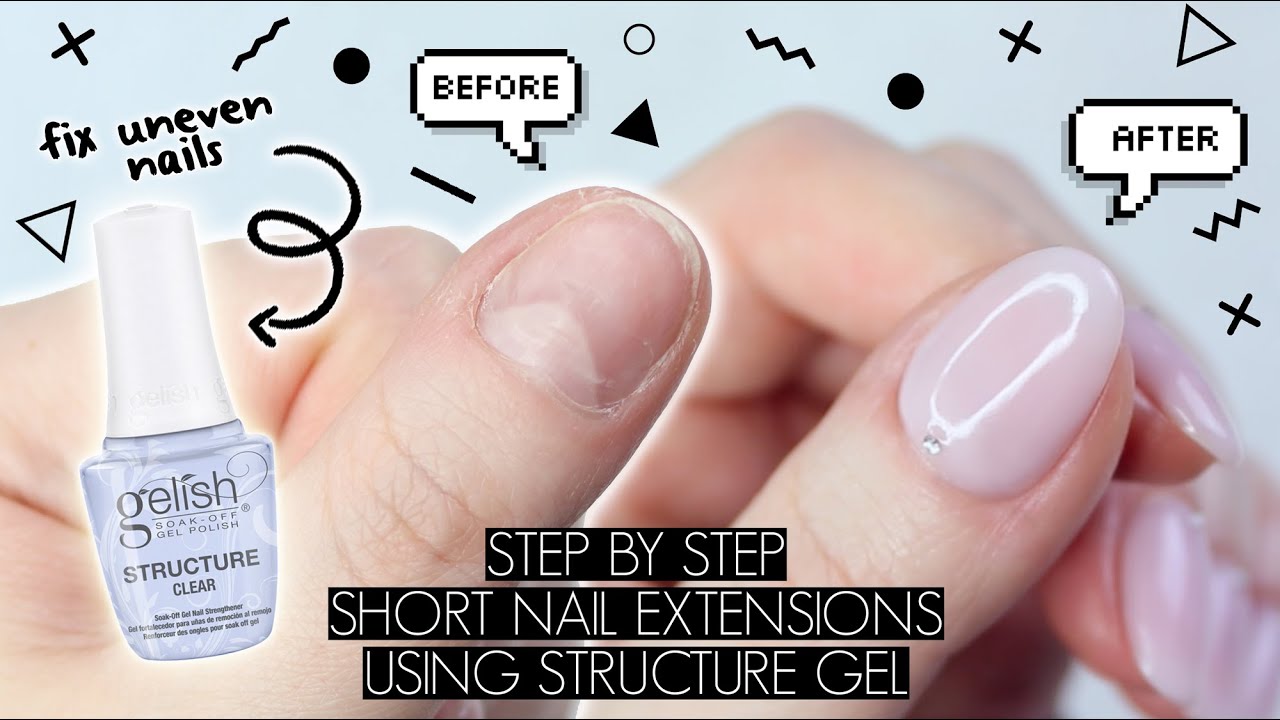
Diy Short Gel Nail Extensions At Home The Beauty Vault Youtube Nail Extensions Gel Nail Extensions Short Gel Nails

10pcs Silk Fiberglass For Nail Extension Form Non Woven Silks Uv Gel Building Fiber French Acrylic Nail Extensions Acrylic Remove Acrylic Nails Nail Extensions

Acrylic French Nails Extensions Service Book Nail Extension Home Service Nail Extensions Types Of Fake Nails Gel Nail Extensions

6 Color Nail Extension Gel Kit Builder Gel Nails Nail Extensions Diy Acrylic Nails
Step by step method to remove Acrylic nails at home.
Acrylic nail extension at home. DIY Acrylic Nails at Home. Cut the nails they will be hard and easy to cut. First remove any old nail polish.
Some come with tips too. A mix of polymer powder and monomer liquid is then combined to get a blob-like-dough that is spread out on your nail and efficiently glued with a brush to keep both the layers intact and also give form and dimension to your nail. Acrylic Nail Extensions Procedure.
The nail is then air-dried and left alone to settle down and adapt to. To make the nail extension fit perfectly our nail specialists can execute the traditional manicure on your fingertips. Skip this step if your natural nails are the same length as the extensions and you would like to keep them long.
If you have purchased this kit before the date 290921 your items may be slightly different to the. The Pros And Cons Of Acrylic Nails Acrylic extensions are created by mixing a liquid with a powder polymer often smoothed over plastic nail tips. They can also give your natural nails some protection from breaking or.
One of the most common and foolproof ways to remove acrylic nails is to do an acetone soak. Many of the kits include everything you will need. To do acrylic nails at home you should have a kit containing acrylic paints a fluid that increases the adhesion of a natural nail to an artificial nail a solvent a de-greasing fluid a brush and a few nail tips.
Gella Acrylic Nail Starter Kit. Acrylic nails are incredibly durable easily able to withstand your usual daily tasks. Apply forms by following Acrylic Nails Step 2 Forms Mixtures.

6 Color Nail Extension Gel Kit Dry So Fast About 45s Summer Baddie Nails 39 99 Ongles Couleur Kit
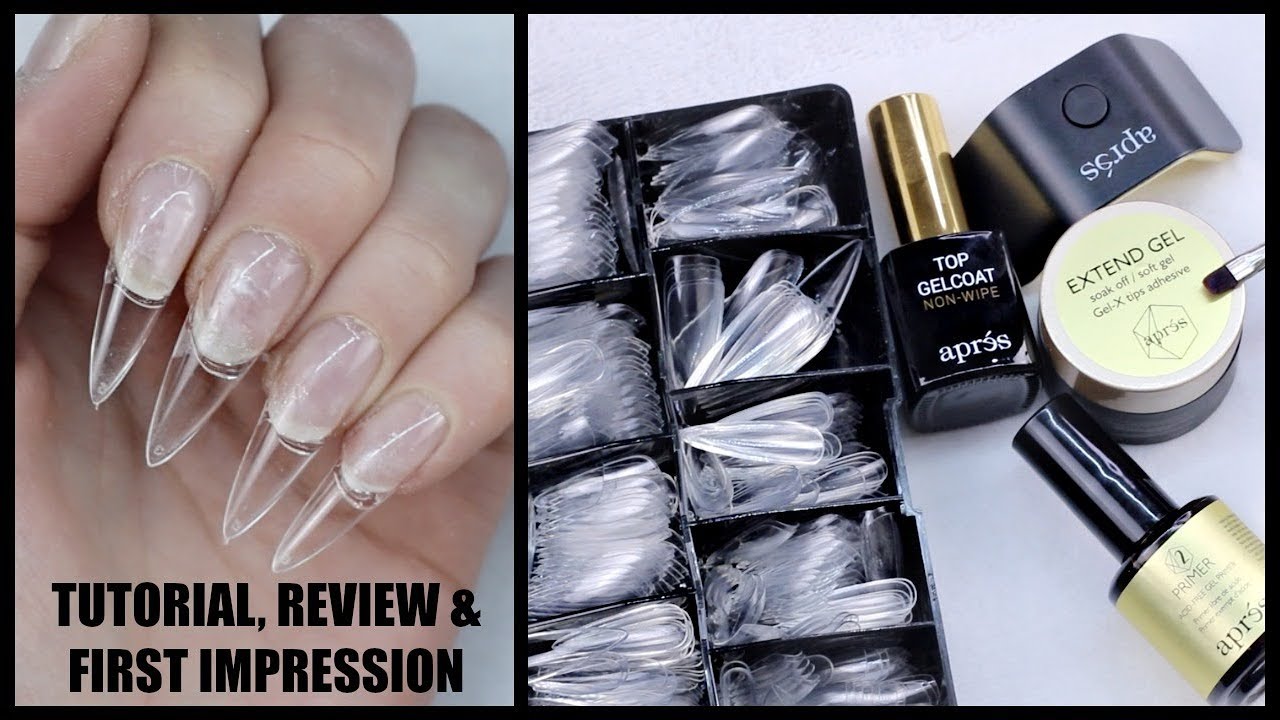
Apres Gel X Nail Extension System Tutorial Review First Impression Youtube Nail Extensions Gel Nail Extensions Gel Nails

Key Features Multifunctional Easy Use Quick Curing Long Lasting Time Saving Nail Extensions Diy Acrylic Nails Gel Nails At Home


