How Are Acrylic Nails Put On

Beginners Guide To Putting On Fake Nails Making Them Last Sophie Sticated Mom Fake Nails Diy Fake Nails Fake Nails With Glue

How To Put On Fake Nails Fake Nails Designs Turquoise Acrylic Nails Solar Nail Designs

Pin On You Always Come First Pearl
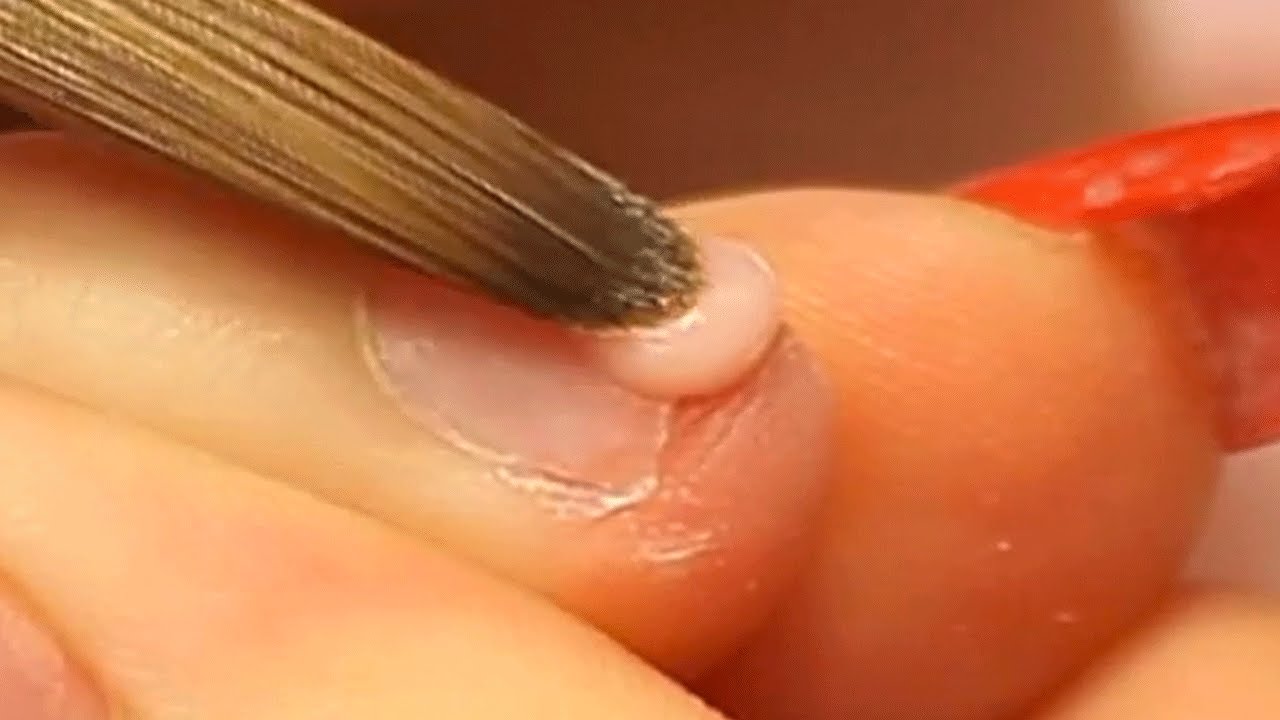
How To Apply Acrylic Nails On Short Bitten Nails Nail Tutorials Nail Tutorial Videos Sculptured Acrylic Nails

Unique Acrylic Nail Kit Glitter Acrylic Nail Powder And Monomer Acrylic Nail Liquid Set Nail Tips Acrylic Powder System For Nail Extension And Decoration 3d Man In 2021 Diy Acrylic Nails

Pin On Nail Tips And Tricks
Carve it up to fit your nail and the press-on shell then apply pressure on the nail bed until the adhesive process is complete.
How are acrylic nails put on. Now the basic preparation for your nails is over. After choosing a color remove the cuticle remove the plate and degrease. Then apply glue evenly to the tip and place it on your natural nail so that the bottom edge of the acrylic tip lies halfway down your nail bed.
They will then run an electric nail file over it to get the nail ready for acrylic to be put on. Your acrylic nails may have a translucent marking on the lower end of the inverted side of the nail. The application process is pretty straightforward with tape.
Apply an acrylic-friendly base coat colored polish and top coat. This is put on by dipping a brush into acrylic powder then into liquid monomer then applied to the nail. Apply gel primer and attach the appropriate tip to your nails.
File the base and tips of the acrylic nails. Use a brush to create an acrylic mass and quickly apply it over the entire length of the nail. To do this study the color set of the material and choose a more suitable option.
Again its rare to make this tape work for more than 24 hours so you may find yourself annoyed at having to apply the same nails day after day. If you requested very short acrylic nails they will skip this step Next nail techs will apply an adhesive before attaching the acrylic nails to all your. An acrylic overlay creates a thin protective coating on the natural nails that make them stronger and help nail polish stay up to two weeks.
Next the nail tech clips and files the nail to your desired nail shape coffin almond square etc Then the acrylic is put on. This step is very important because otherwise your nail may pop out and look strange. How to apply gel polish on acrylic nails Remove old polish with a non-acetone nail polish remover.

Diy Fake Nails How To Attach Remove No Nail Glue No Acrylic Kikay Glue On Nails Fake Nails Acrylic Nail Shapes

Key Features Multifunctional Easy Use Quick Curing Long Lasting Time Saving Gel Nails Diy Acrylic Nails At Home Nail Extensions
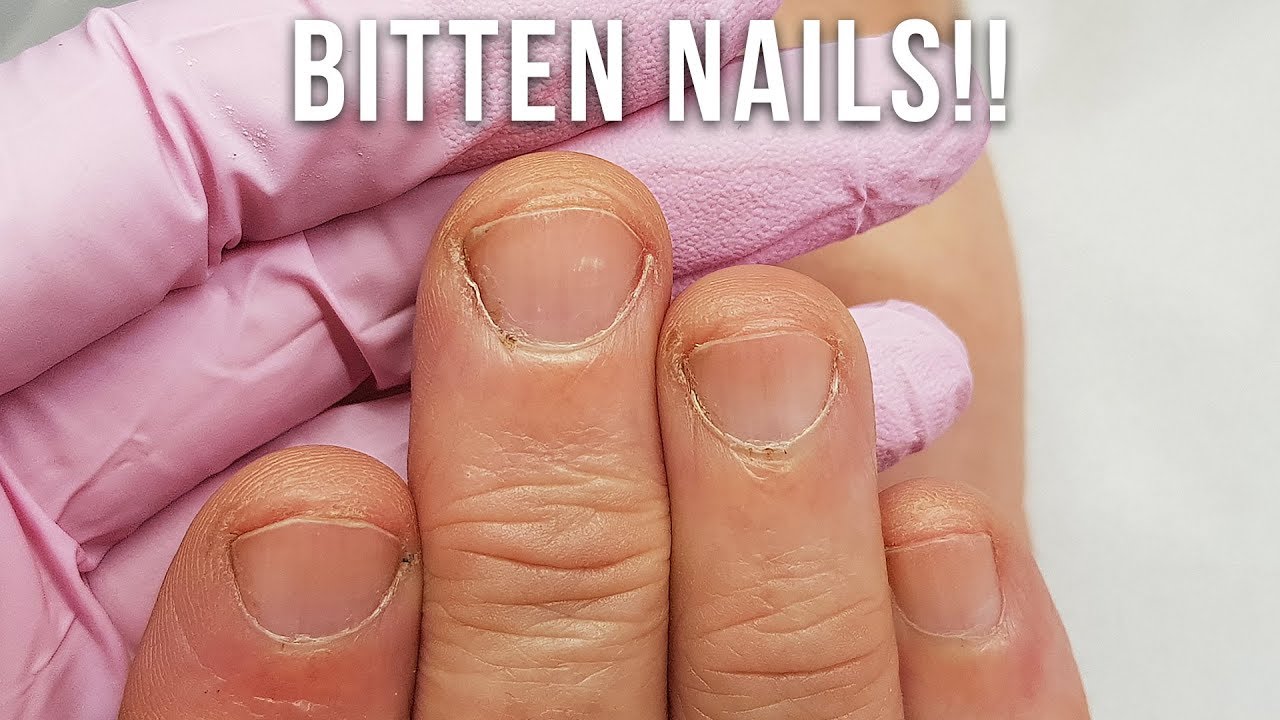
Bitten Nails Get Acrylics Youtube How To Grow Nails Short Nail Manicure Wide Nails


