How To Put On Kiss Acrylic Nails
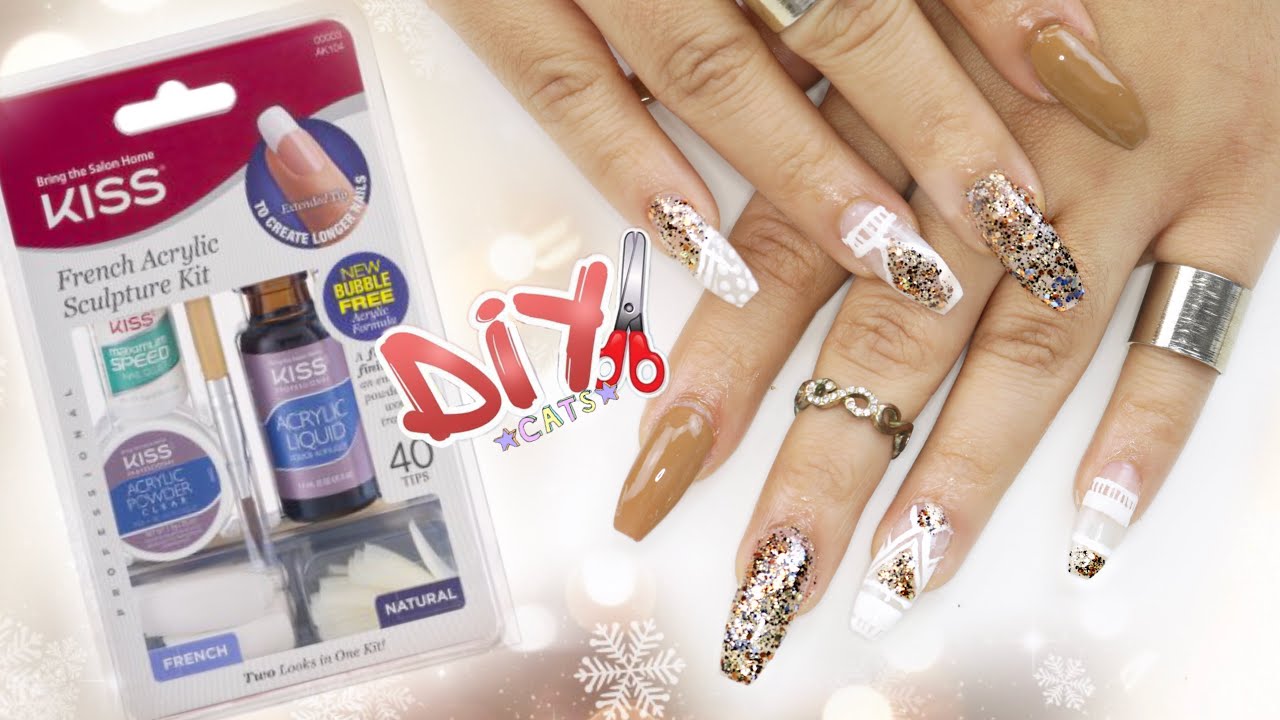
Diy Kiss Acrylic Nail Kit Coffin Nails Step By Step Acrylic Nail Kit Nail Kit Diy Nail Kit

Diy Professional Coffin Nails 9 Long Lasting How To Coffin Shape Nails Youtube Acrylic Nail Kit Nail Kit Diy Acrylic Nails
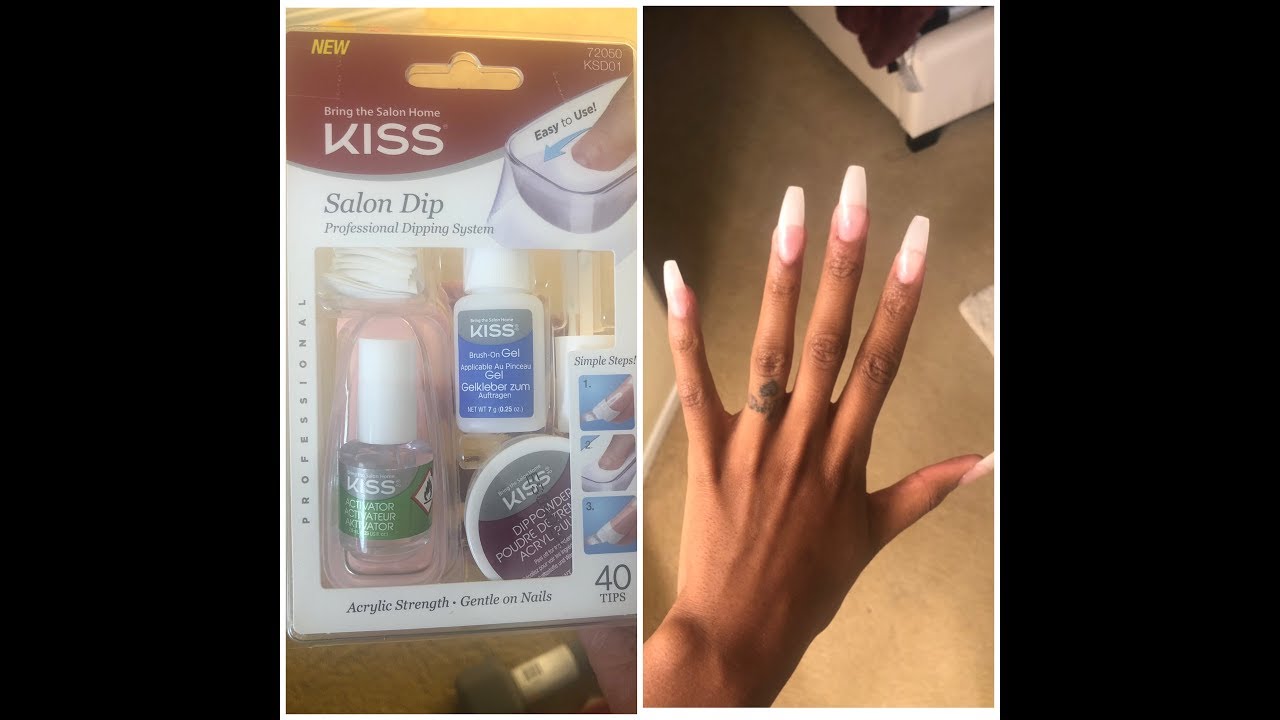
Diy Acrylic Tutorial Kiss Professional Dip Powder Kit Acrylic Nail Kit Diy Acrylic Nails Acrylic Nail Supplies

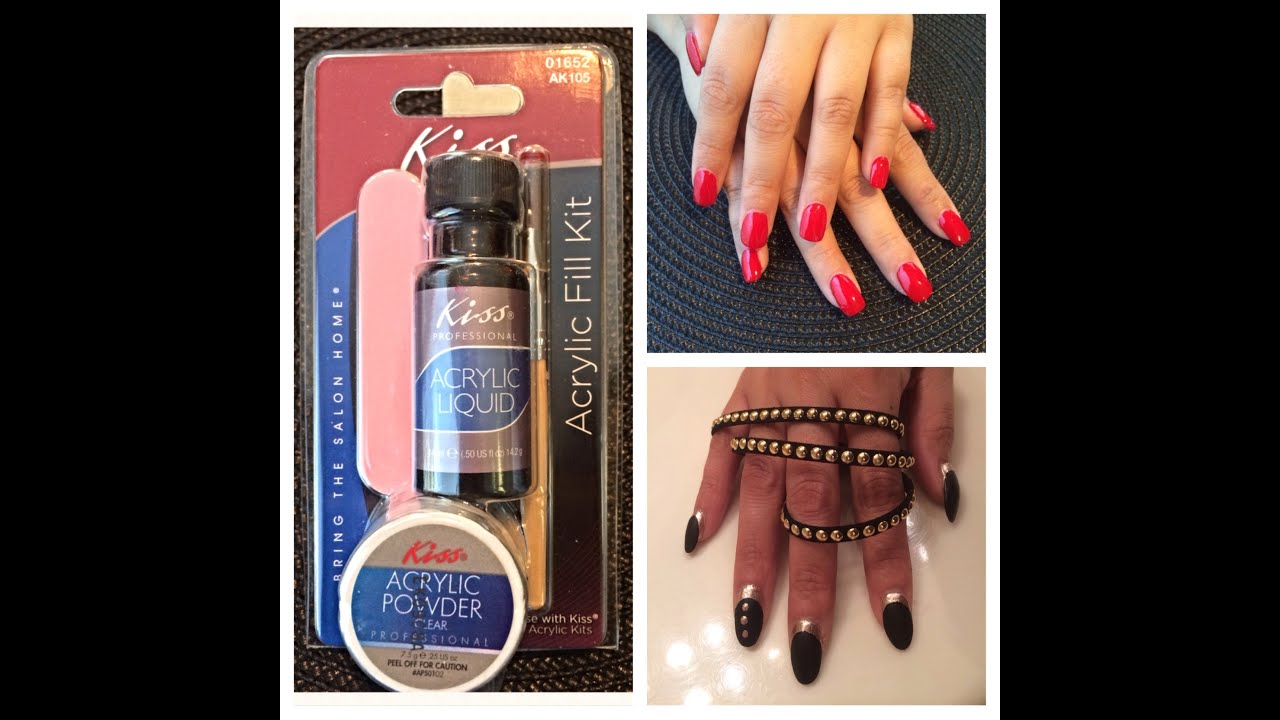
Kiss Acrylic Nail Kit Review And Demo Diy Nail Kit Acrylic Nail Kit Acrylic Nail Supplies

Glue On Nail Tutorial Salon Acrylic French Nails French Nails Glue On Nails Nail Tutorials

Step By Step To How To Do Your Own Acrylics French Tip Nails Disclaimer I Did Not Get This From The Diy Acrylic Nails French Tip Nails Acrylic Nails At Home
Allow to level then pull down to blend with the entire nail surface and pat down until smooth.
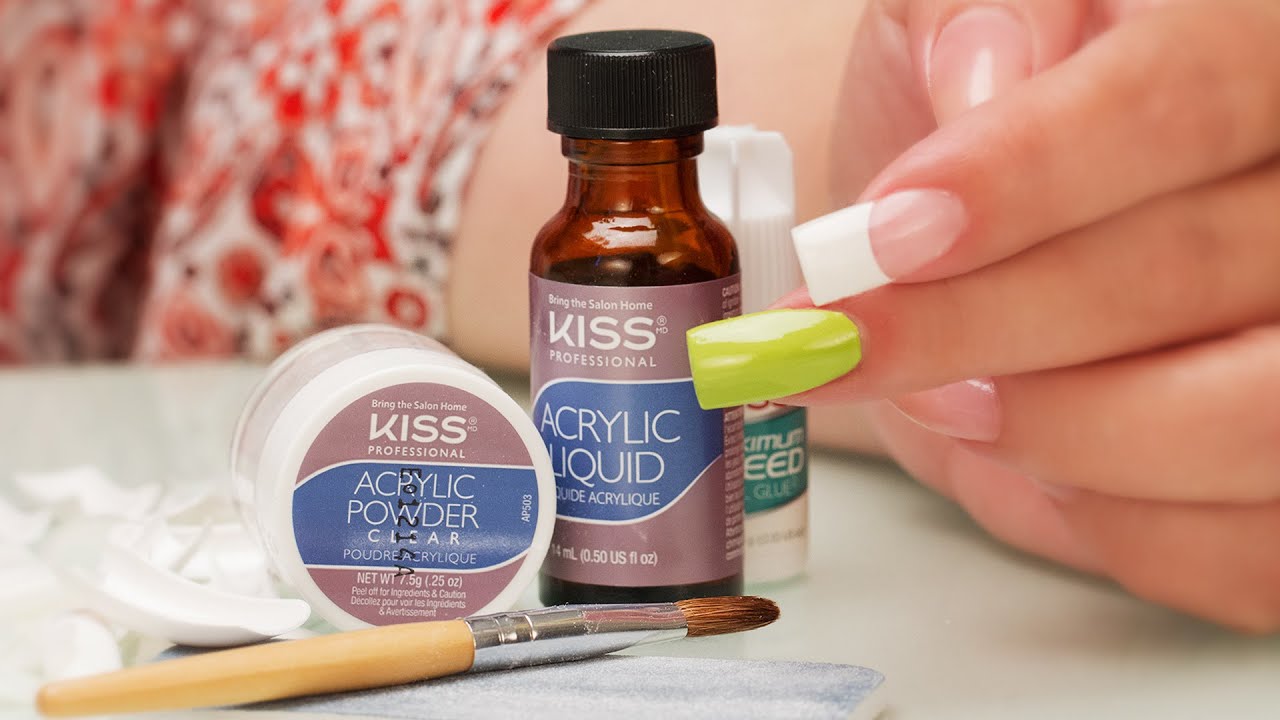
How to put on kiss acrylic nails. Apply Kiss acrylic primer to the growth area of natural nail only. Follow this easy tu. Pour your acrylic liquid into your dappen dish.
Align with cuticleH52 press on hold for 5 seconds. Place a small bead of acrylic mixture onto growth area where the natural nail meets the overlay. The Timeline My routine is fairly simple.
Find the right size tips for your nail. Twist off the numbered tab from the artificial nail and file the nail to the shape you want. Applying the Acrylic 1.
Then they sand down and shape the acrylics. Apply glue to back of artificial nail. Do not get on skin or cuticles.
Clean nails with acetone-based nail polish remover. Nails are sized by number noted on nail Easy-Apply Tab. Removal can cause a little bit of damage if you do not follow the instructions and soak in pure acetone.
Apply glue to back of artificial nail. If you requested very short acrylic nails they will skip this step Next nail techs will apply an adhesive before attaching the acrylic nails to all your nail beds. Hold the artificial nail on top of your nail for five seconds and its glued.

Nail Pro Tests Kiss Complete Acrylic Kit Plus 3 Weeks Later Review Acrylic Nail Shapes Nail Pro Nails
Viewers Have Asked For Suzie S Opinion Of The Kiss Acrylic Kits In This Video Suzie Uses The Kiss Fre Acrylic Nail Set Acrylic Nail Kit Acrylic Nails At Home

Kiss Acrylic Nail Dip System Tutorial Acrylic Nails Diy Acrylic Nails Nails