Shaping Acrylic Nails At Home
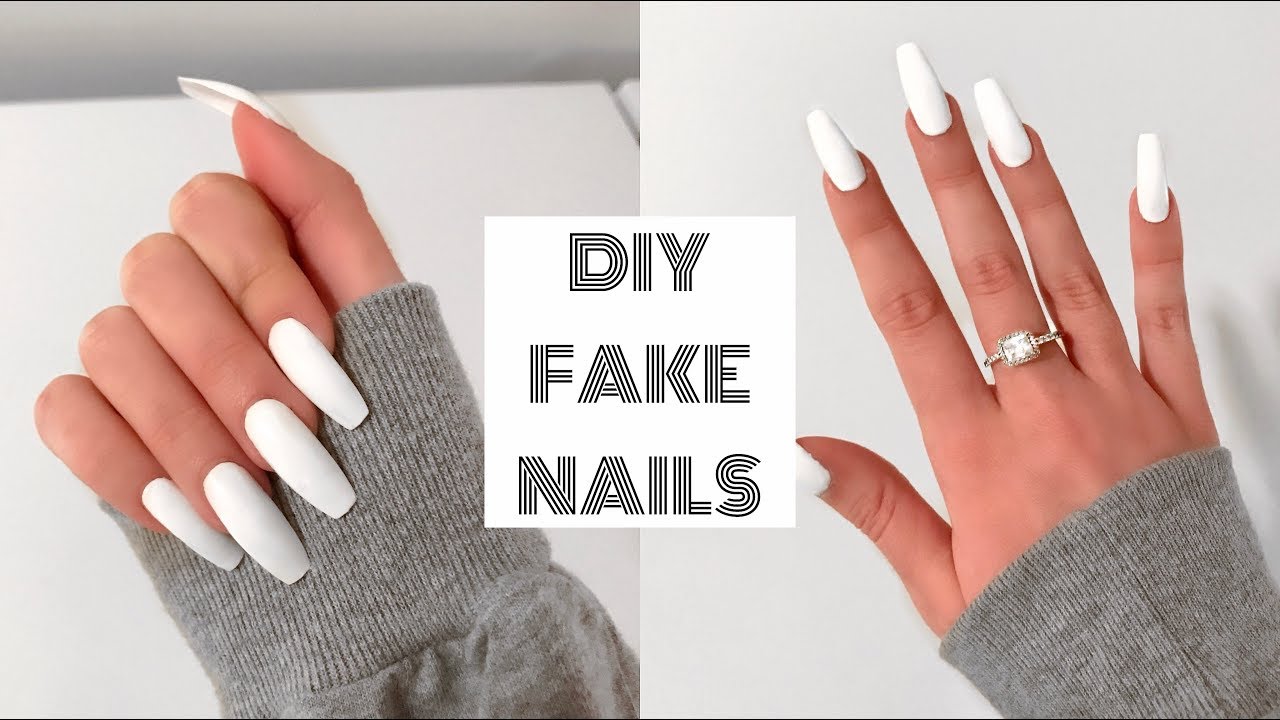
10 Things To Do When You Re Bored What To Do When You Re Bored Diy Slime How To Make Slime Hey Everyone Fo Fake Nails Diy Fake Nails Acrylic Nails At Home

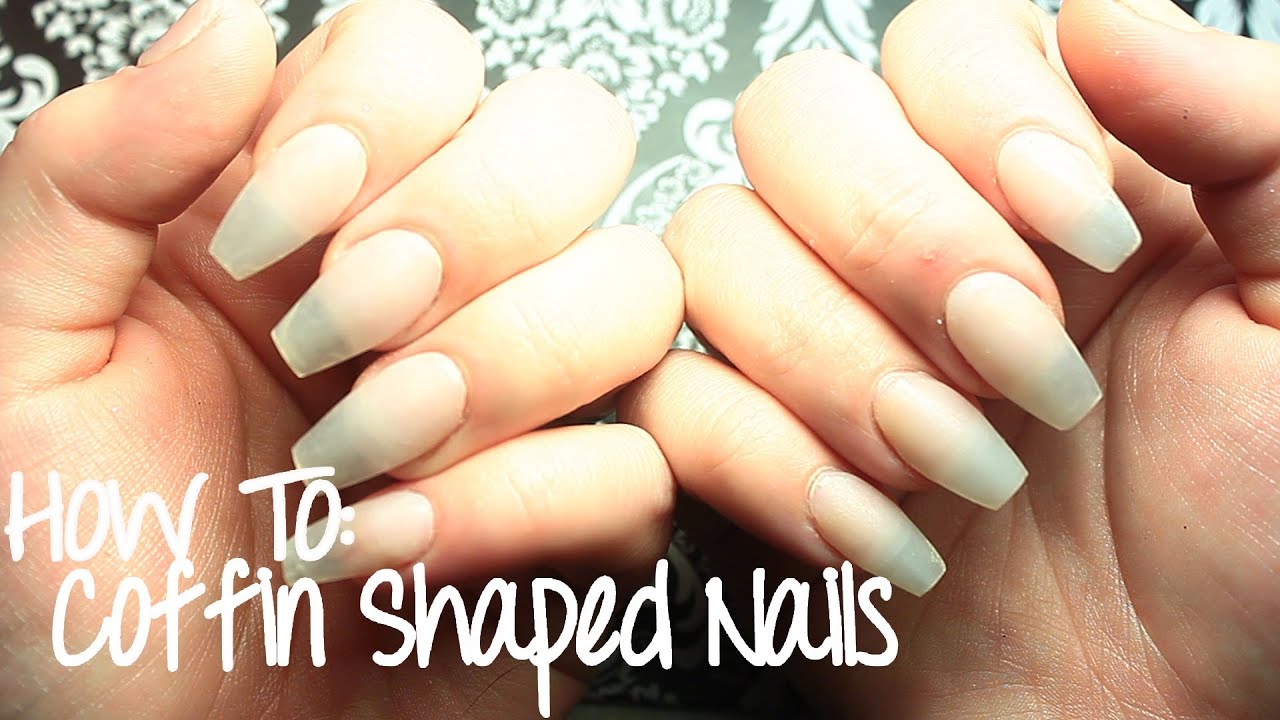
Shaping Coffin Ballerina Acrylic Nails How To File Tutorial Youtube Ballerina Acrylic Nails Fake Nails Shape Ballerina Nails Shape

Home Sweet Home These Are The Biggest Home Decor Trends Of 2019 Fingernagel Design Nail Shapes Acrylic Nail Shapes Coffin Nails Designs

Choose A Perfect Nail Shape With Revel Nail At Home Diy Nail Dipping System Diy Acrylic Nails Nail Shapes Revel Nail Dip
Pin On Nail Art Tutorials
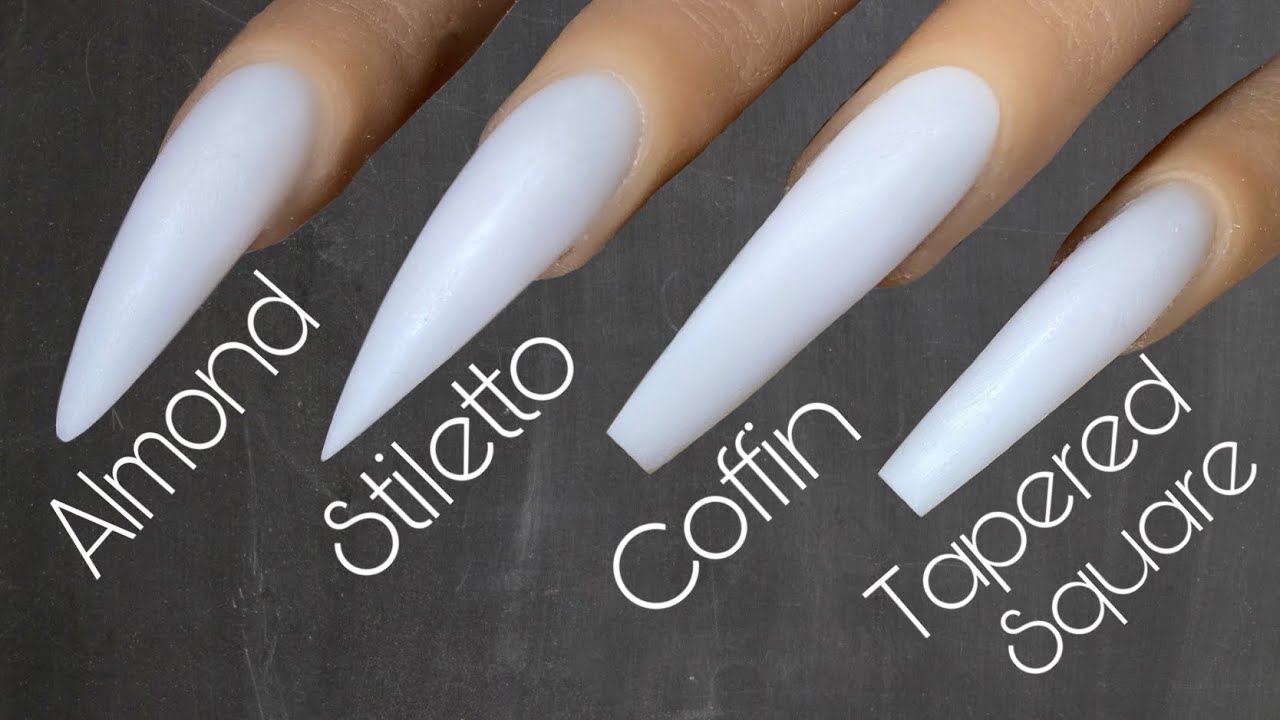
Beginner Nail Tech How To Shape Nails Acrylic Nail Tutorial Youtube Pointy Acrylic Nails Acrylic Nails Stiletto Acrylic Nail Shapes
Shape Your Newly-Adhered Acrylic Tips.
Shaping acrylic nails at home. Here at Kiara Sky and Glam and Glits we love to educate on the products and industry we love. Before you even think about picking a colour take the time to trim shape and buff your nails as this will give you the best possible canvas for your DIY manicure. Now place the cotton balls over your nails and wrap them up with aluminum foil for at least 30 minutes.
All acrylic nail kits follow roughly the same methodology though they vary in terms of steps and the hardening process. After half an hour remove the foil with a wooden stick and wash your hands properly. Top up your acrylic nails at home and keep them in great shape from 46.
In this article. Hey loves welcome back to my channel today I felt like I should share how to shape your nails at home because we are in quarantine and I know a lot of you gu. New to Acrylic or need a refresher.
Trim your nails to your desired length if required Step Two. To complete the square file gently around the edges and tidy up and outlying nail. How to Do Your Own Acrylic Nails at Home Thoroughly Prep Your Nails.
Many of the kits include everything you will need. While the type of polish that you use can greatly affect how long your nails last and the look that they will give you not all nail polishes will hold up well with the type of cuticles that you have. Having said that it usually goes something like this.
File each nail straight in one direction across your entire nail. When getting acrylic nails the first thing that you need to ask for when visiting a nail salon is the type of acrylic nail polish that they are offering. Push your cuticles back buff your nails attach the tips with glue optional apply the primer activator andor monomer coat your nails with dip powder allow them to set then shape them with a file.

How To File Shape Nails Square Stiletto Oval Lipstick Ballerina Youtube Formas De Unhas De Acrilico Acertou Em Cheio Unhas Ovais

Grey Marble Nails Fall Acrylic Nails Grey Acrylic Nails Nails

How I Shape My Nails Fake Nails 101 Youtube Acrylic Nail Shapes Fake Nails Diy Acrylic Nails


